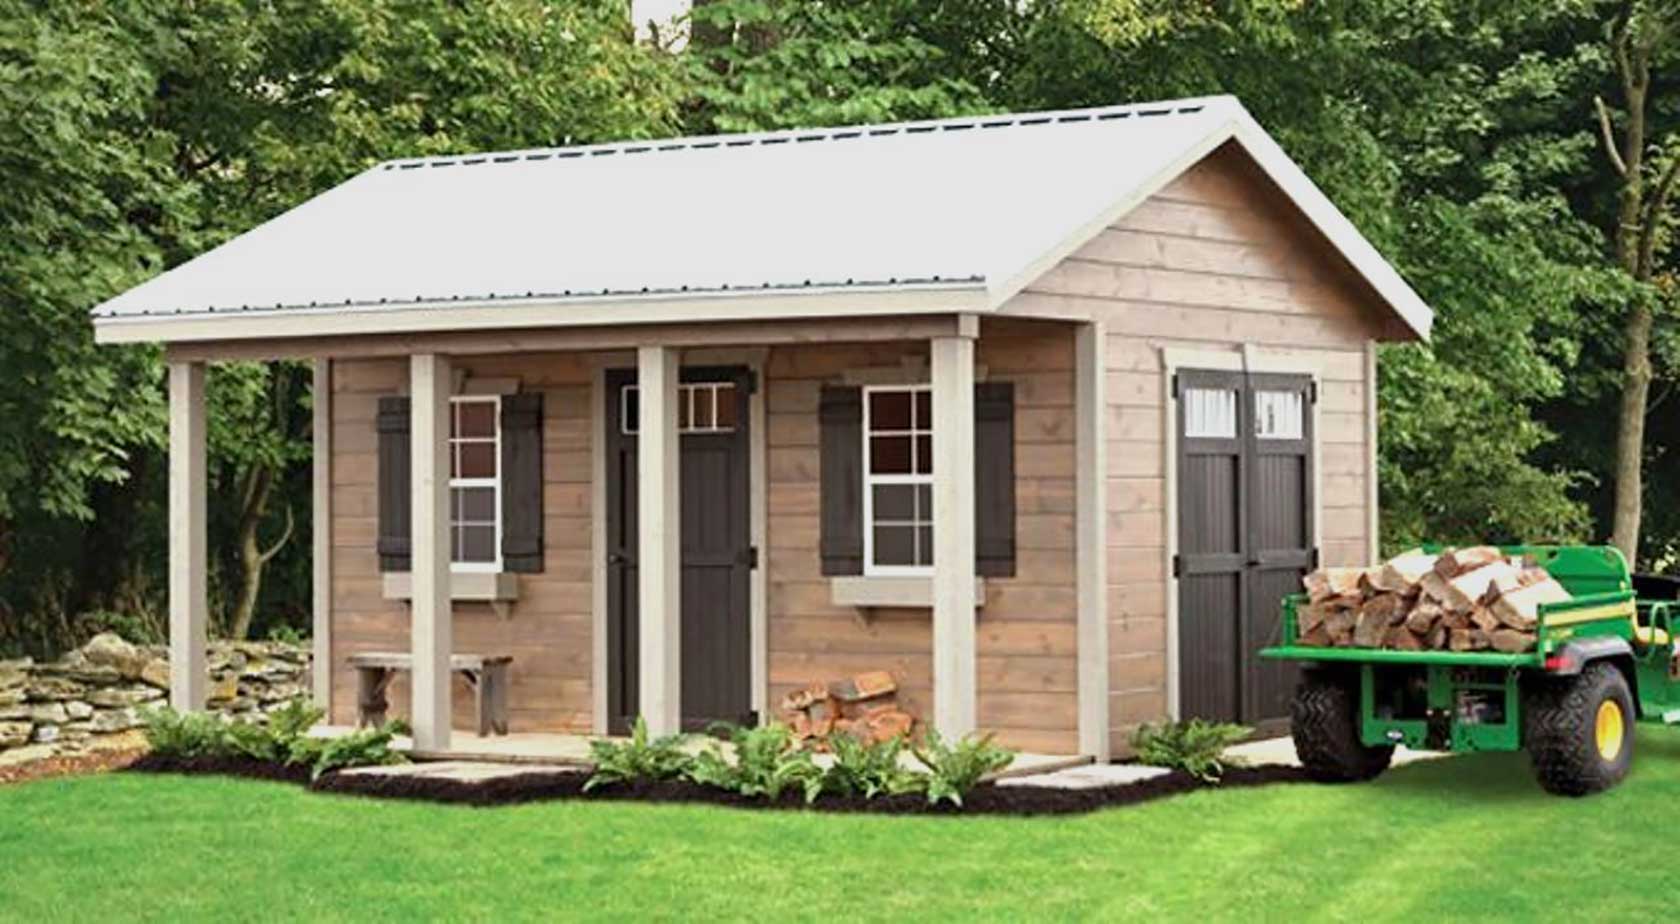
Build a Gable 12×16 shed from Plans with These DIY Shed Building Tips.
Building your own outdoor shed can be rewarding. You will also gain some storage space. Here are some tips to help you save time and money when you are building your 12×16 porch shed plans.
These tips will show you how to build an affordable and beautiful shed quickly and affordably.
Most Durable Shed Foundation Style
Concrete slabs are the most durable base for your shed. Although building this type of foundation may be expensive, you can rest assured that it will last a long time.
Dig a ditch six inches deep in the size of your shed. Fill the ditch with three inches of gravel, and then press it to create a flat foundation. Pour the concrete mixture and let it dry for 24 hours.
If your land is sloped, you should first construct a deck supported by posts. Then, cover the area under the footings with skirts and build your shed on top of the deck.
Create a Frame with a Precisely Straight Shape
Before adding Siding, use a Siding to measure the straightness of each wall frame end. Attach plywood scraps to each end of framing components and then tighten the string from one end to the other.
If there are gaps between the string and the framing members, the lumber may not be straight. If necessary, secure bracing and shave lumber to ensure that each plate is straight.
The framing studs can also be crooked or crowned on one side. Check that the studs are level by looking down at them. Use the remaining studs for blocking. The studs in the corners, window frames, and door frames must all be perfectly straight.
Constructing Roof Trusses on the Ground
Assembling a roof frame, rafter by row, is more difficult than assembling roof trusses. One truss is required for every two feet of roof. The trusses should be constructed before the walls.
Then, trace the components of the truss on the floor of the shed with chalk. These lines will serve as guides to cut each truss piece from the timber. Use deck screws and plywood gussets to secure the truss sections.
A Better Way to Build Shed Roofs
Most people climb a ladder to work on the roof frame. Moving the ladder from one site to another can take a long time. This can be dangerous if there is no stable base or if someone does not hold the ladder.
Renting scaffolding is a more practical option for building the roof. It should have wheels to make it easier to move. A stable platform on which to place your tools and materials will help you build faster.
Create Affordable Windows and Doors
The sliding barn sash is used to create the window. A basic frame holds the glass in place. Attach the latches and hinges to the frame. You can make a separate frame for the screen and attach it above the window frame.
Make two panels of plywood for the doors. Sandwich and laminate the panels so that their corners are covered. The front piece should have a larger lip to hold the panels in place. The panels are attached with pocket screws and then glued together. Sand the outer edges of the panels to smooth out any irregularities and create the illusion of a single-layer door.
Build shed walls with durable Siding.
NaturalSidingg is beading, but it rots quickly in harsh weather conditions. Oriented strand boards are less expensive than plywood and more durable. Most timber yards offer a variety of OSB panel types, including plain, stucco, and grooved.
Add an overhang to your roof to protect the Siding against Siding and water. Your shed will look better and last longer if you do this.
Building a shed can take a long time. It is important to plan and obtain the necessary permits from your local council. These shed-building tips will make your project easier and your DIY experience more enjoyable.

